PRONTO
A rapid workflow to design 3D-printed customized orthotics
Ongoing (Nov 2021 - Present)
Solo Project
Design Brief:
What other new products can we offer in addition to HP Inc's recent 3D-printing efforts?

Background
One significant advantage of additive manufacturing is the design freedom and geometrical complexity that can be afforded due to the layered printing of the parts. Inspired by HP's recent efforts in Arize - an easy-to-use digital solution to deliver quality 3D printed custom foot orthotics, this work can be a potential extension of the project to explore new product offerings. Specifically, HP's Multi Jet Fusion technology will be the core technology that will be used to realize these ideas.
Understanding Gaps
In the early stages of understand user requirements, I reached out to the Foot Care & Limb Design Centre at Tan Tock Seng Hospital to understand more about the current design and manufacturing processes and what the current gaps are in the orthosis design process. It is evident that there is a lack of effective communication between the prosthetists who provides their medical diagnosis and the engineers who helps the Centre design and manufacture the prosthetics/orthotics. In fact, prosthetists often need to pick up CAD skills in order to translate and communicate their intents better. Hence, I look into tackling the gaps in workflow and how we can streamline the design and manufacturing process for both stakeholders, while ensuring customization for the patients. The use of a digital workflow designed for additive manufacturing also facilitates decision-making and alleviates uncertainties related to manual forming via casting.
From temporary orthotics to sports guards to longer term supports, there are a spectrum of reasons for relying on orthotics for support, recovery, and rehabilitation. The wrist orthotics was chosen as a starting point to build the minimum viable product due to the simplicity of geometry and function. The workflow will be scaled to generate and build foot orthotics in the future.


How does it works?
For this project, Grasshopper3D, a visual programming language hosted in Rhinoceros3D, is used to demonstrate and create a workflow that streamlines the design process of orthosis. The workflow was split into four different stages as follows: (1) 3D-scanning, (2) Adjustment for target area, (3) Patterning, (4) Design for additive manufacturing, (5) 3D-printing. The full run-time for the workflow takes an average of 70 seconds, yielding potential for integration within the current processes that prosthetists undergo to enable further digitalization.

Stage 1: 3D-scanning
After 3D-scanning the user's hand, further refinements to the mesh can be made on the 3D-scanning software before exporting it as a closed watertight model. Alternatively, the mesh can be further processed in third-party applications such as Autodesk Meshmixer, and then imported into the Grasshopper workflow.

Stage 2: Adjustment for target area
To ensure that the resultant orthosis only fits and supports the target area, adjustment needs to be done in the early stage of the workflow. Based on the prosthetists' expertise, unnecessary areas are cropped out of the model and the mesh is offset to prepare for the next stage.

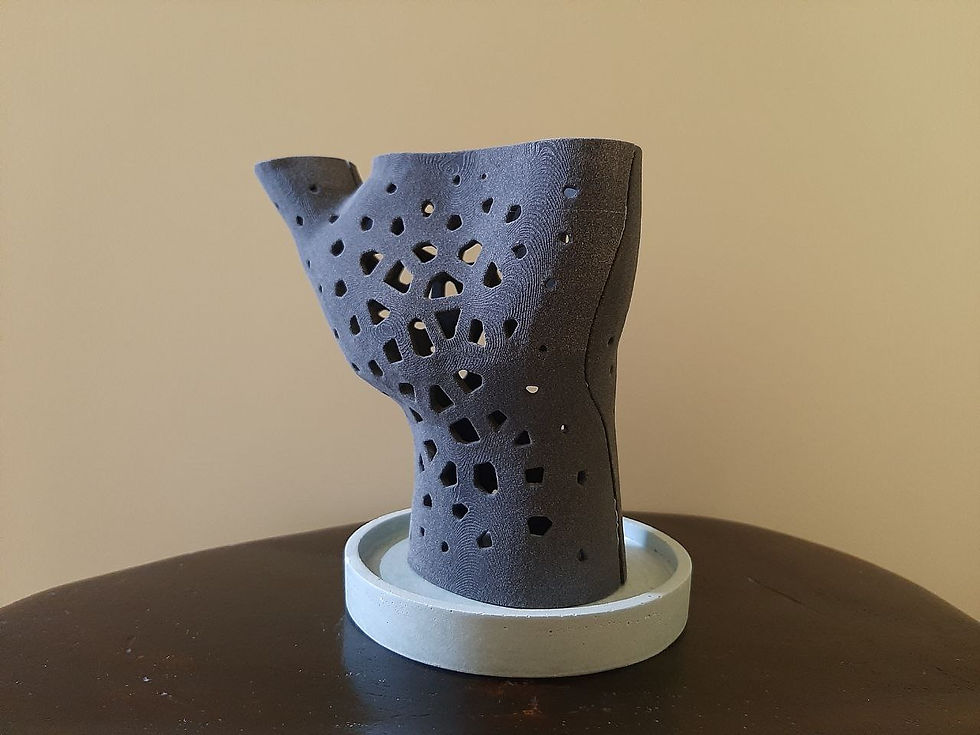
Stage 3: Patterning
To reduce the weight of the model and ensure sufficient ventilation for comfort and hygiene, holes were generated by mapping the Voronoi patterns onto the model.
In addition, the patterns are arranged conformally to the boundary edges of the model, such that larger holes occupy the central geometry, and the size of the holes decrease towards the boundaries. Holes that are smaller than the preset threshold will be removed from the geometry as well to strengthen the part's structural integrity.


Stage 4: Design for additive manufacturing
To prepare the model for user fitting and manufacturing, careful considerations were made to attach the two halves of the model together and secure it on the hand, while ensuring that it does not detach easily upon impact against any surfaces. Various snap fit methods were tested.

Stage 5: 3D-printing
The models were printed and tested on the user's wrist to evaluate its effectiveness and overall comfort. The printed parts were manufactured using HP Multi Jet Fusion 5200 printer in PA11. Post-processing (e.g. bead-blasting etc.) is required to further clean up the residual powder.


Design iterations and printed prototypes
Based on the patient's feedback, iterations were made to improve the fit and comfort of the orthotics. With focus communication between the patient and the prosthetist, the whole process would take no longer than a week to generate and manufacture a functional and customized orthotics for the patient. One feedback received was that the patterns arranged should look more uniform rather than random as the current patterns may cause triggers for people with fear of holes. More iterations and prints are in progress.
Describe your image

Describe your image
Describe your image